Key materials and reagents for SPR
One of the easiest ways to make beautiful assays is to ensure that you have effectively considered what sensor chips, buffers and other reagents are right for the job. Let's look into these together.

|
November 22, 2022
|
7 min read
One of the easiest ways to create beautiful SPR assays is to ensure that you carefully consider all the layers of your assay. Key considerations include interactants, sensor chips and immobilisation strategy, running buffer and regeneration. We have discussed proteins in our previous SPR blog so naturally have decided to follow up with a discussion on sensor chips and reagents.
Choosing a sensor chip
The sensor chip is at the heart of the SPR assay and there are a variety of choices for attaching your ligand. Properties of the ligand of interest, e.g. histidine tag, biotinylation, Fc tail or no specific tag at all, dictate the choices of chip available to you. In most cases, the preferred method for attachment is via a capture molecule. Pre-functionalised chips make it easy to attach your ligand, but you can easily derivatise your own chips presenting any capture molecule - ready to bind and present your ligand. The CM5 chip is the ‘work-horse’ and is the most adaptable and suitable for many SPR applications. Cytiva has compiled a neat flowchart to help you choose the best way to attach your ligand. This is a very useful resource if you are just starting out on your SPR studies.
Buffer
The running buffer is the carrier of your analyte and creates the background in which the ligand-analyte interaction occurs. The most common buffers used in SPR are phosphate buffered saline (PBS) and HEPES buffered saline (HBS), pH 7.4, supplemented with Tween 20 at 0.05-0.1% to reduce non-specific binding to the chip surface, as well as the tubing and microfluidics in the instrument. Some proteins and enzymes function optimally in Tris-based buffers and at higher concentrations of NaCl. Additives such as 0.1% BSA or carboxymethyl-dextran can be added to your buffer if there is significant non-specific binding observed. If you are lucky enough to have access to an instrument with A-B-A functionality, and you’re having trouble finding the right running buffer for your assay, you would be best to run a buffer screen varying the buffer components and their concentrations to find the optimal conditions.
Regeneration
Removing bound analyte from the surface means that you can perform multiple cycles and reuse your chip. If you have been able to use a capture approach to attach your ligand, regeneration usually involves removal of both the analyte and ligand from the surface ensuring you have no worries about maintaining the integrity of the ligand. Covalently bound ligands need to have their high affinity analytes removed using either a low pH buffer, an alkaline solution like NaOH or high salt solution. The least invasive method of regeneration is preferable as the aim is to ensure there is no loss of function and that all bound analyte is removed.
Armed with the best choice of chip, optimised buffer and regeneration conditions, you’re on your way to obtaining quality data. Good luck!
Join our community of curious minds on LinkedIn
🗓️ Stay informed with our monthly scientific newsletter, published on LinkedIn on the last Wednesday of each month.
These editions bring you the latest in drug development breakthroughs, industry trends, and expert insights from the brilliant minds at RoukenBio.
Subscribe today on LinkedInDiscover our off-the-shelf and custom SPR assays
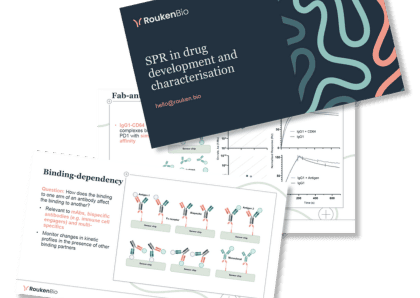
Download our technical slides to learn more about the surface plasmon resonance capabilities we offer at RoukenBio. Access example data and boost your drug discovery goals.
Access the technical presentation

